

When it comes to functional fitness, especially in the world of CrossFit, efficiency is key. One machine that often flies under the radar but offers an incredible workout is the SkiErg. Whether you’re looking to enhance your cardiovascular endurance, improve your skiing performance, or simply add variety to your training, the SkiErg is a powerful tool.
In this guide, inspired by CrossFit Games athlete Kristi Eramo O’Connell’s expert advice, we’ll break down everything you need to know about using the SkiErg effectively.
Why the SkiErg Deserves Your Attention
The SkiErg might not be as commonly used as the rower or assault bike, but it’s a fantastic piece of equipment that can deliver a full-body workout. Unlike the rower, which predominantly works the lower body, the SkiErg focuses on the upper body, particularly the lats, shoulders, and core. However, it’s more than just an arm workout—when used correctly, it engages the entire body, making it an excellent tool for improving overall fitness and power.
The SkiErg mimics the poling motion used in Nordic skiing, which means it’s also a great way to cross-train if you’re into winter sports. The movement pattern is unique, but with the right technique and consistency, you can unlock its full potential and see significant gains in your workouts.
Mastering the Damper Setting: The Key to Efficiency
One of the first things to consider when using the SkiErg is the damper setting. According to Kristi, setting the damper between a 2 and a 4 is optimal for most athletes. While this might feel light at first, it actually forces you to focus on efficiency and consistency—two critical elements in maximizing your performance.
A lower damper setting highlights any inconsistencies in your stroke, making it easier to identify and correct poor habits. It also encourages a higher stroke rate, which is crucial for maintaining momentum and keeping the flywheel moving efficiently. For taller or stronger athletes, it might be tempting to crank up the damper, but even then, staying within the 2 to 4 range helps in building good habits and ensuring that each stroke is as efficient as possible.
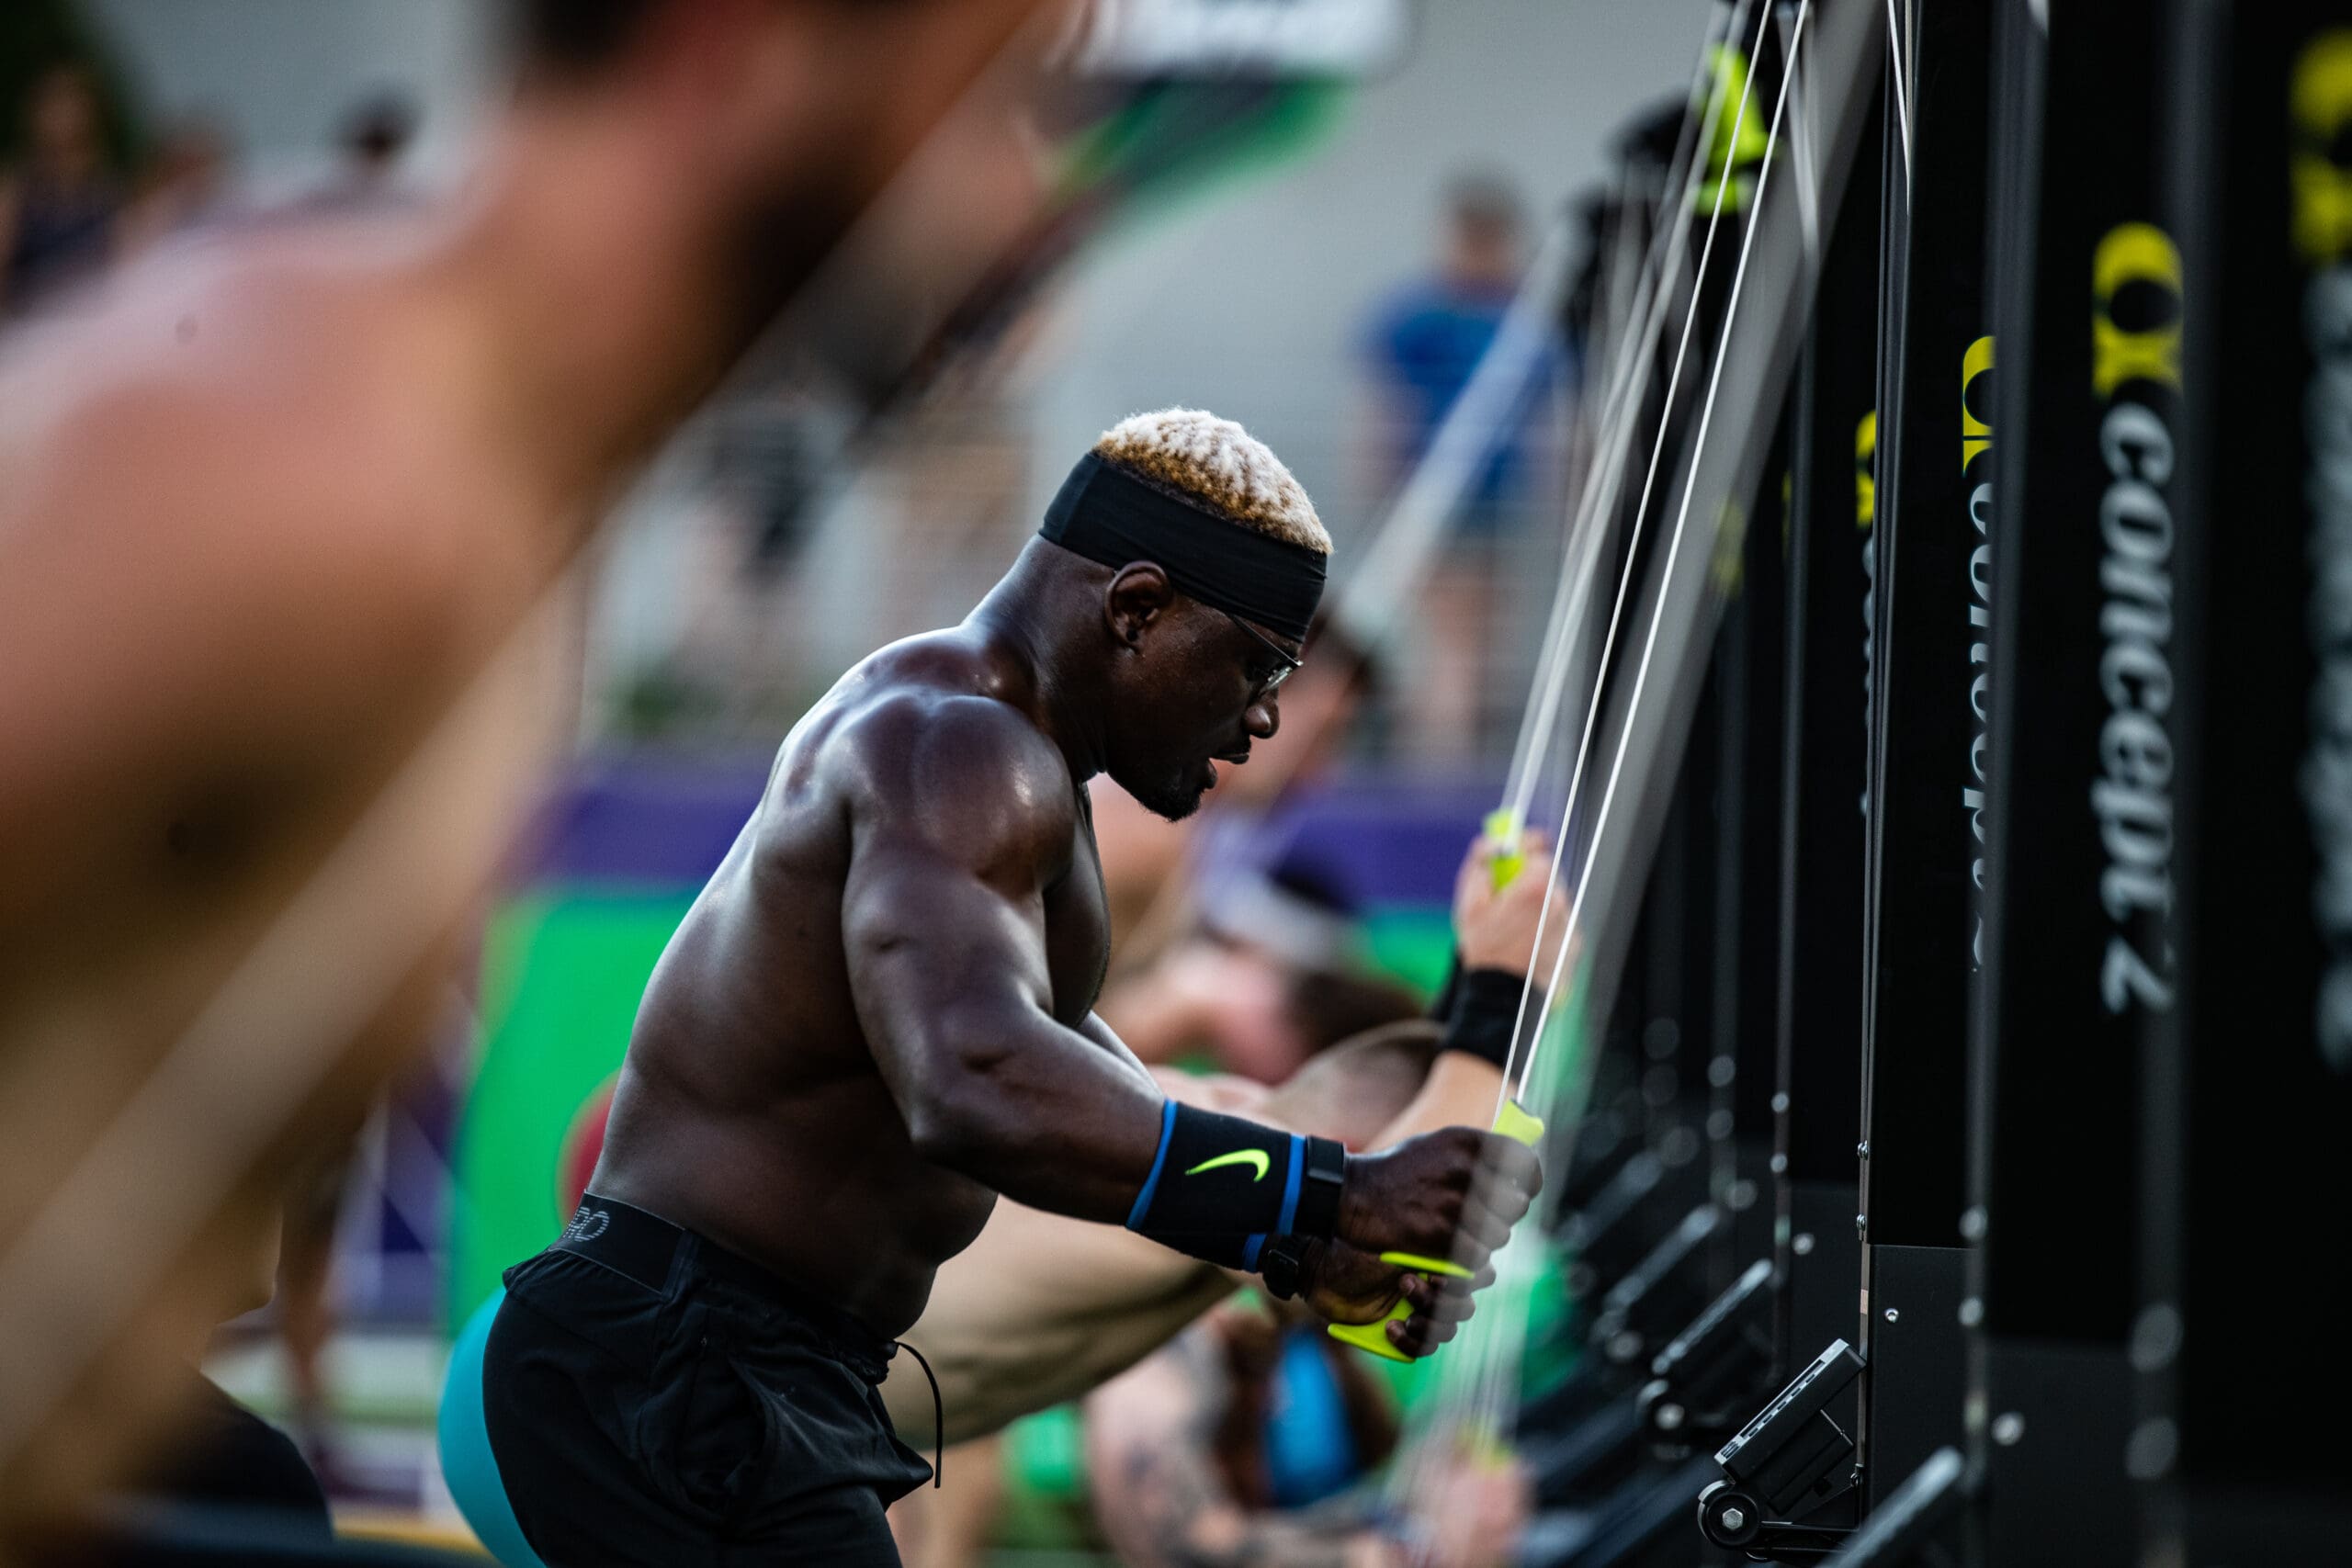
The Perfect Stroke: Power Through Technique
When it comes to the actual stroke, technique is everything. Many beginners make the mistake of squatting too much or standing too close to the machine, which limits the effectiveness of the stroke. Kristi emphasizes the importance of leveraging your body weight rather than relying solely on arm strength.
Start by positioning your feet about halfway on the base of the machine, with your hips slightly back. As you begin the stroke, think of it as a hinge movement. Your hips should move back, your arms should remain long, and your chest should stay open. This position allows you to generate power from your core and lats, rather than just your arms. As you pull down, engage your core with a crunch and finish the stroke by pulling through your pockets, ensuring that your chest returns to the starting position with each rep.
This technique not only maximizes the power of each stroke but also helps in maintaining a steady pace, which is crucial for longer workouts. Remember, consistency is key—each stroke should look and feel the same to maintain efficiency and avoid fatigue.
Bracing: The Foundation of a Strong Stroke
Bracing your core is essential for transferring power from your body to the SkiErg handles. Just like in heavy lifting, where you brace before a squat or deadlift, you need to engage your core before each stroke. Think of it as preparing for a punch to the gut—you want to be tight and ready to absorb and transfer energy.
Before you initiate the pull, ensure your core is engaged, your shoulders are down, and your hips are back. This bracing action not only protects your lower back but also channels more power into your stroke, making each pull more effective. Without proper bracing, you risk losing energy and potentially straining your back.
Starting Strong: Building Momentum from a Dead Stop
Starting a SkiErg session can be daunting, especially when the flywheel is at a complete stop. Kristi recommends using short, quick strokes to get the flywheel moving before transitioning into your full stroke. This technique allows you to build momentum gradually, rather than trying to force a long stroke right from the beginning, which can be inefficient and tiring.
Begin with a few shorter strokes to get the flywheel moving, then gradually lengthen your stroke as you gain momentum. This approach not only makes the start easier but also helps in maintaining a consistent pace throughout your workout.
Fine-Tuning Your Technique: Avoiding Common Mistakes
One common mistake athletes make on the SkiErg is coming up onto their toes or even jumping slightly as they pull down. While it’s okay to come onto your toes slightly if you’re taking a long stroke, excessive movement can indicate that your damper setting is too high, or that you’re not using proper technique.
To avoid this, focus on maintaining a long, steady stroke with minimal movement in your lower body. If you find yourself struggling to keep your heels down, try lowering the damper and reassessing your technique. Remember, the goal is to use your body weight and core strength to drive the movement, not to rely on momentum or jumping.
Putting It All Together: Your Path to SkiErg Mastery
Mastering the SkiErg takes time and practice, but with the right approach, it can become one of the most effective tools in your fitness arsenal. Start by focusing on your damper setting, refining your stroke technique, and ensuring that you’re bracing correctly before each pull. As you gain confidence and skill, you’ll find that the SkiErg can help you build endurance, strength, and power—all while providing a challenging and rewarding workout.
You will also like:
Best Cardio Machines For Fat Loss


